Back to back moulded stop end cover unit
- Ensure both gutters leading to the stop ends are clean and dry. Blow dry with heat gun if damp
- Address both liners to the stop ends. (No need to fold the liners to the full height of the stop end)
- Firmly press both liners into the crease lines on both gutter soles. This will prevent air pockets and form a solid base to weld the back to back stop end unit to the liners
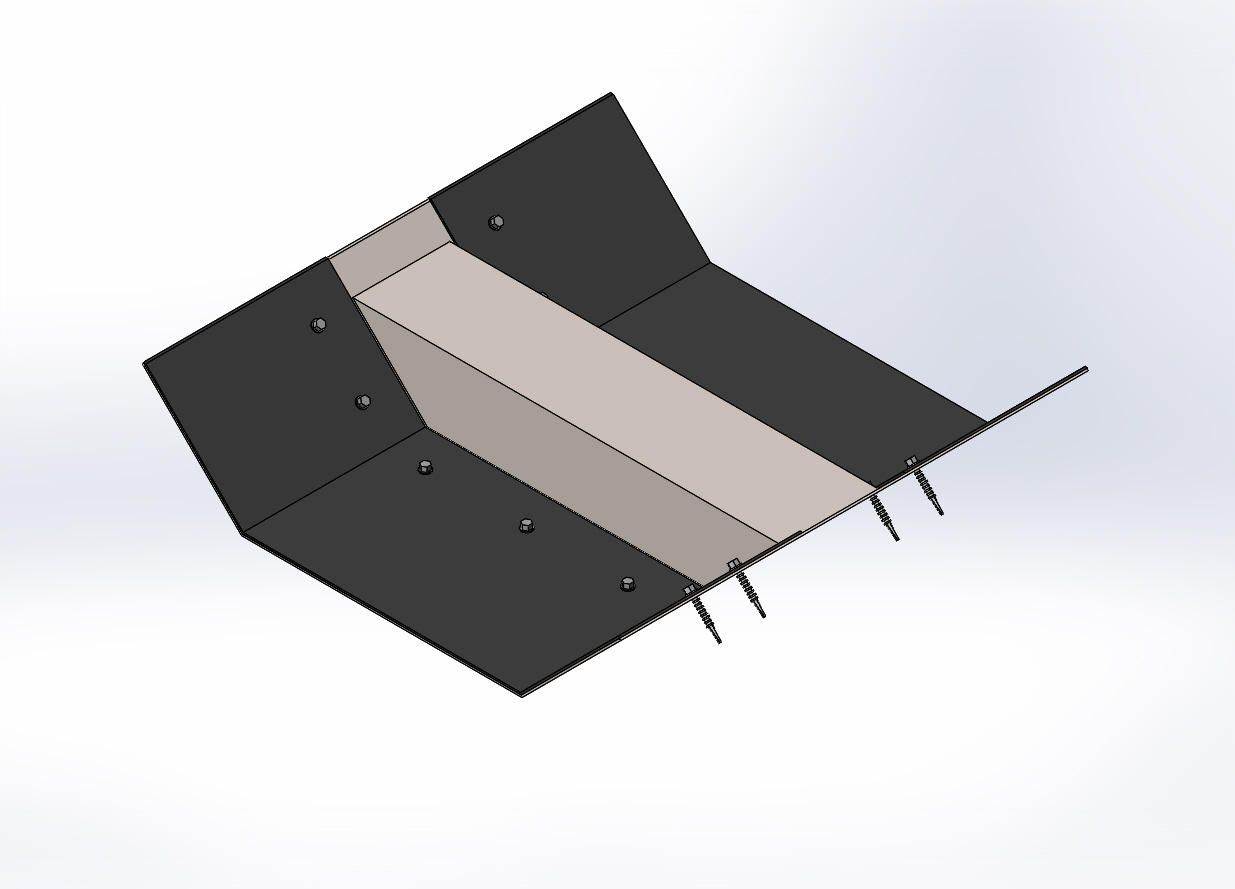
- With the specified fixings supplied, pin the liner 35mm from the gutter crease on the sole x4 and 35mm up the gutter slope on both sides of the gutter x 4
- Using the 200mm rule pin the liner every 200mm across the gutter soles and up the gutter slopes if required
- Ensure Sharmans Fixing Caps are installed over all fixings prior to welding
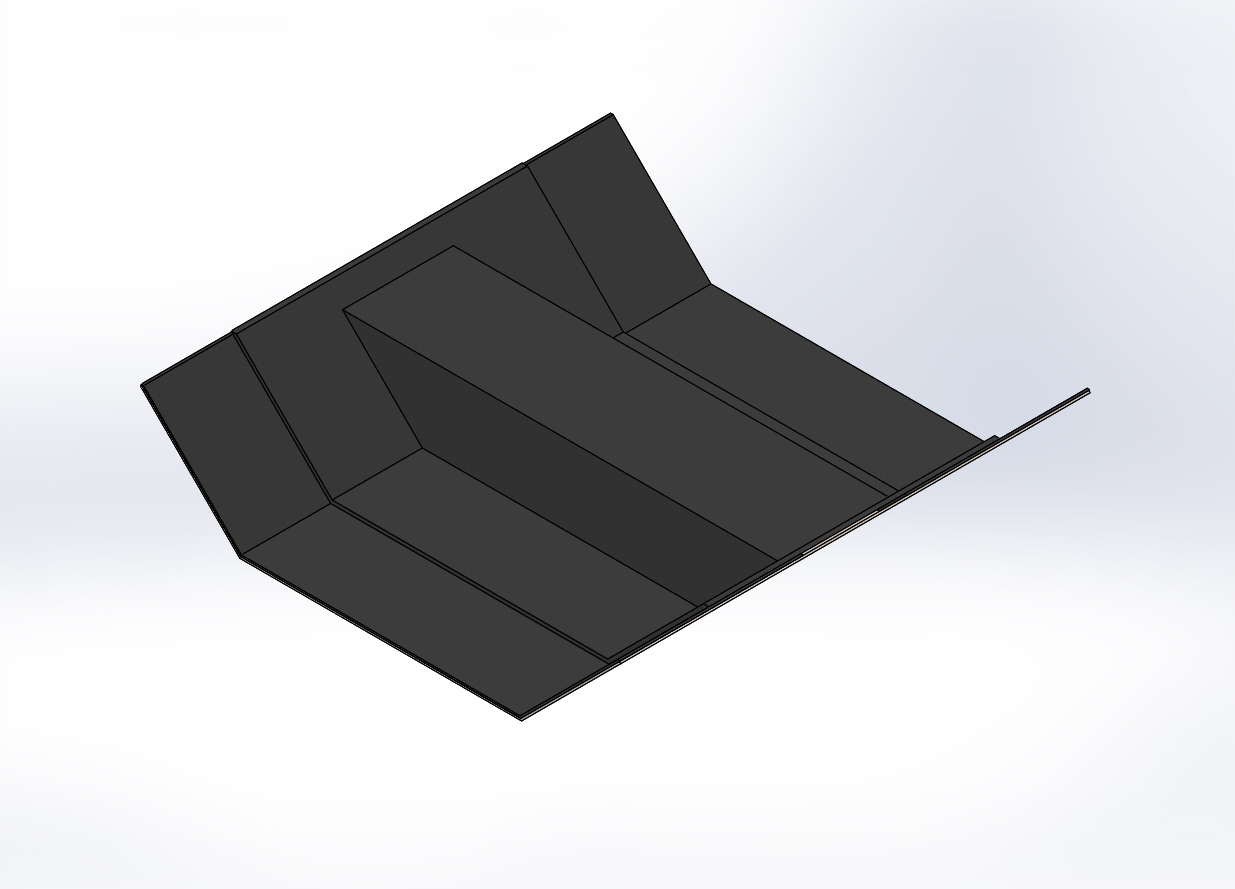
- Place the moulded stop end cover unit over the original stop end until it sits flush with both gutters ready for welding
- The weakest point of any weld is the crease lines on the gutter sole. Weld the back to back stop end cover unit at these points first ensuring the moulded unit is pressed firmly into the gutter crease
- Fully weld both gutter soles first followed by all four gutter slopes to complete the installation
- Allow the stop end cover unit to cool before probe testing the weld
- Any un-welded areas will need to be re-welded and again probe tested once cool